


v1.1 and The Vulcan Affair DLC is out now!
--------------------------------------------------------------
Greetings, my suave custodians and guardians of hygiene liberty!
I come bearing a bountiful and dripping bucket of interesting news.
The first order of business is the new DLC:


His plans set in motion, Dr. Hades and his villainous underlings laughed to themselves from their seats at an elaborate table, deep underground on a remote island lair. It would prove to be a short-lived interlude however, as Fox Huntington, dapper plot-foiler extraordinaire and international man-of-action, proceeded to lay waste to the twisted Doctor’s evil plans! The world was saved!
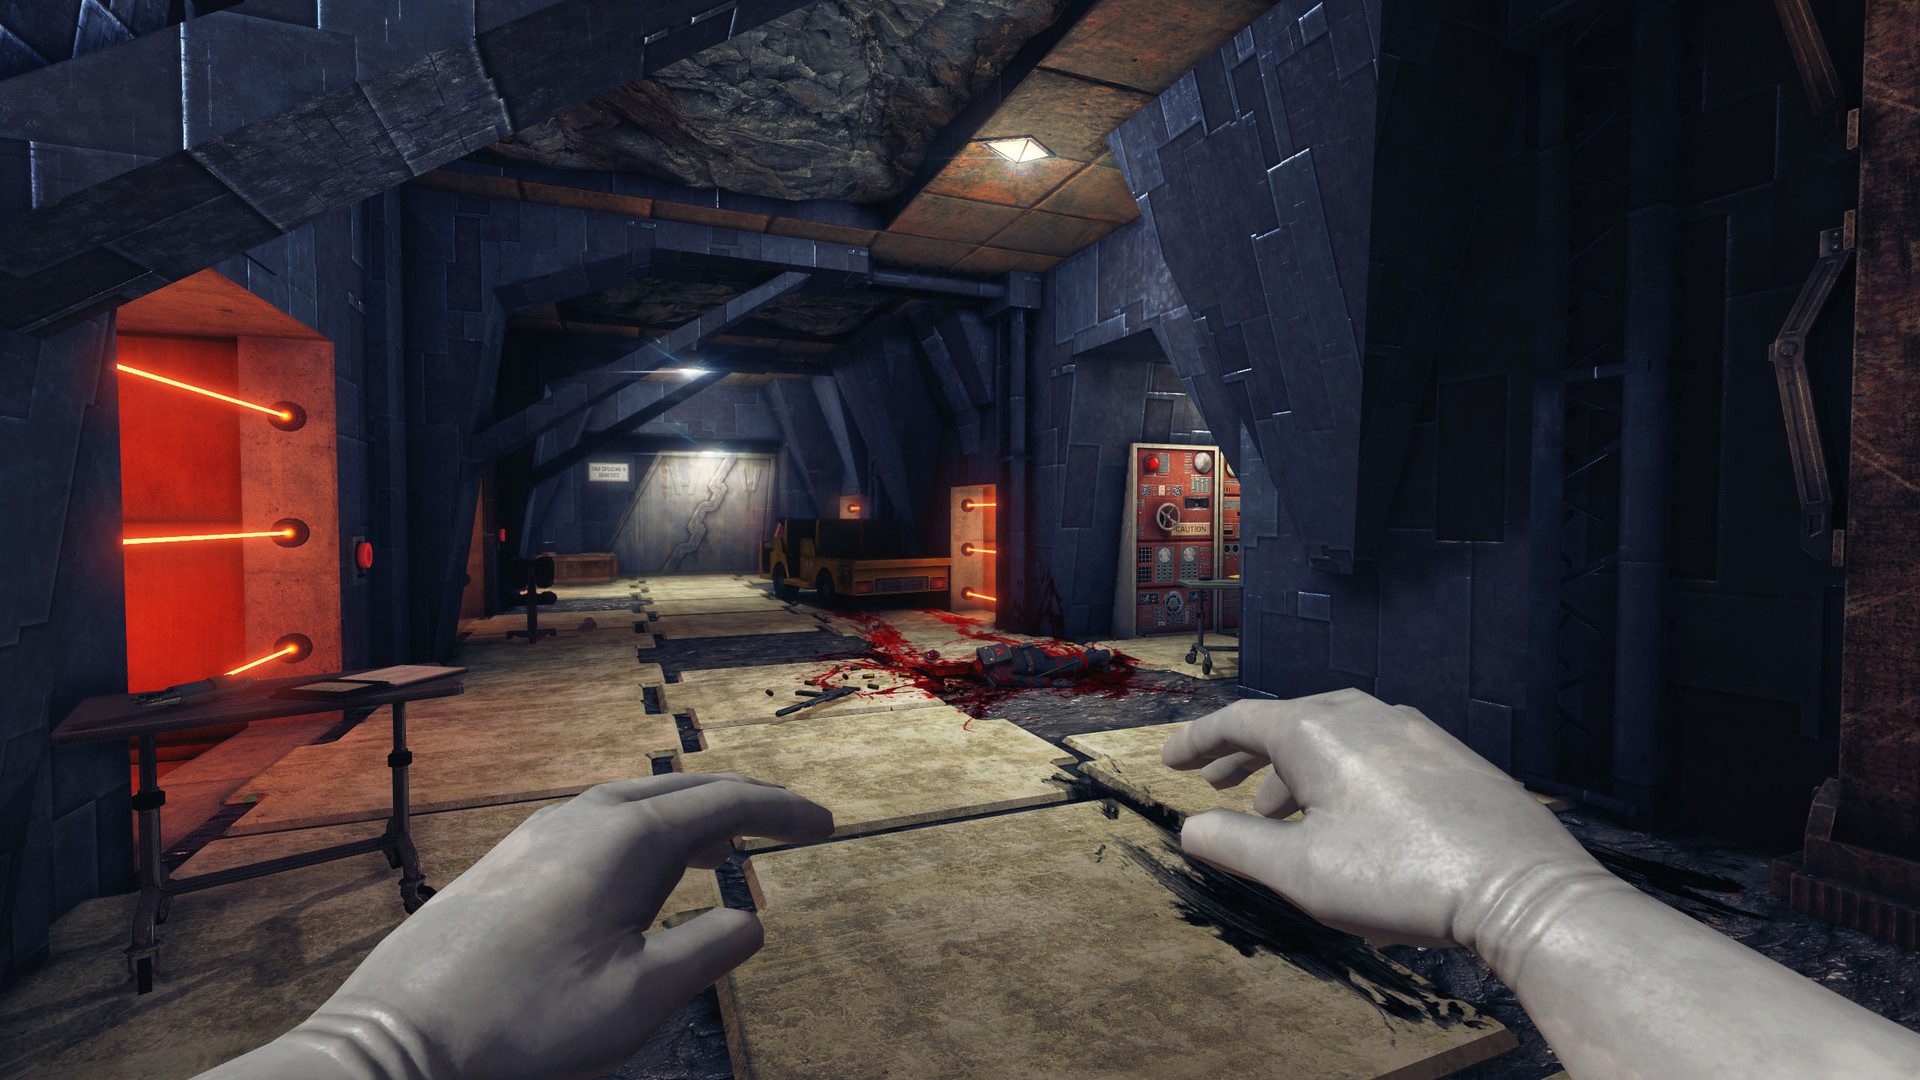
Now that an international super-spy has done their part, it falls to you to get on with the real work..
So, straighten up your bow-tie, spray on your finest fragrance and pay a visit to your nearest gadget store; it’s time to clean this place up!
The new DLC features a number of new game elements.
- An entire facility to explore and give a good scrubbing.
- Eight new songs for the Big Banger radio.
- Ten new achievements to complete.
- A whole bunch of new mechanics and odd things to discover.
- A satisfying feeling.
As always, you can access any DLC through the “Switch Game” button on the main menu.
More Maps!
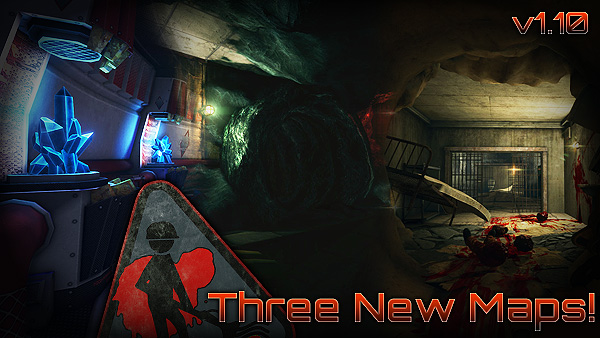
Along with the DLC in this release, we have also added another three levels for the main game!
Yes, three! We even managed to squeeze another one in there.
The three new levels feature a number of interesting new features and/or new content.
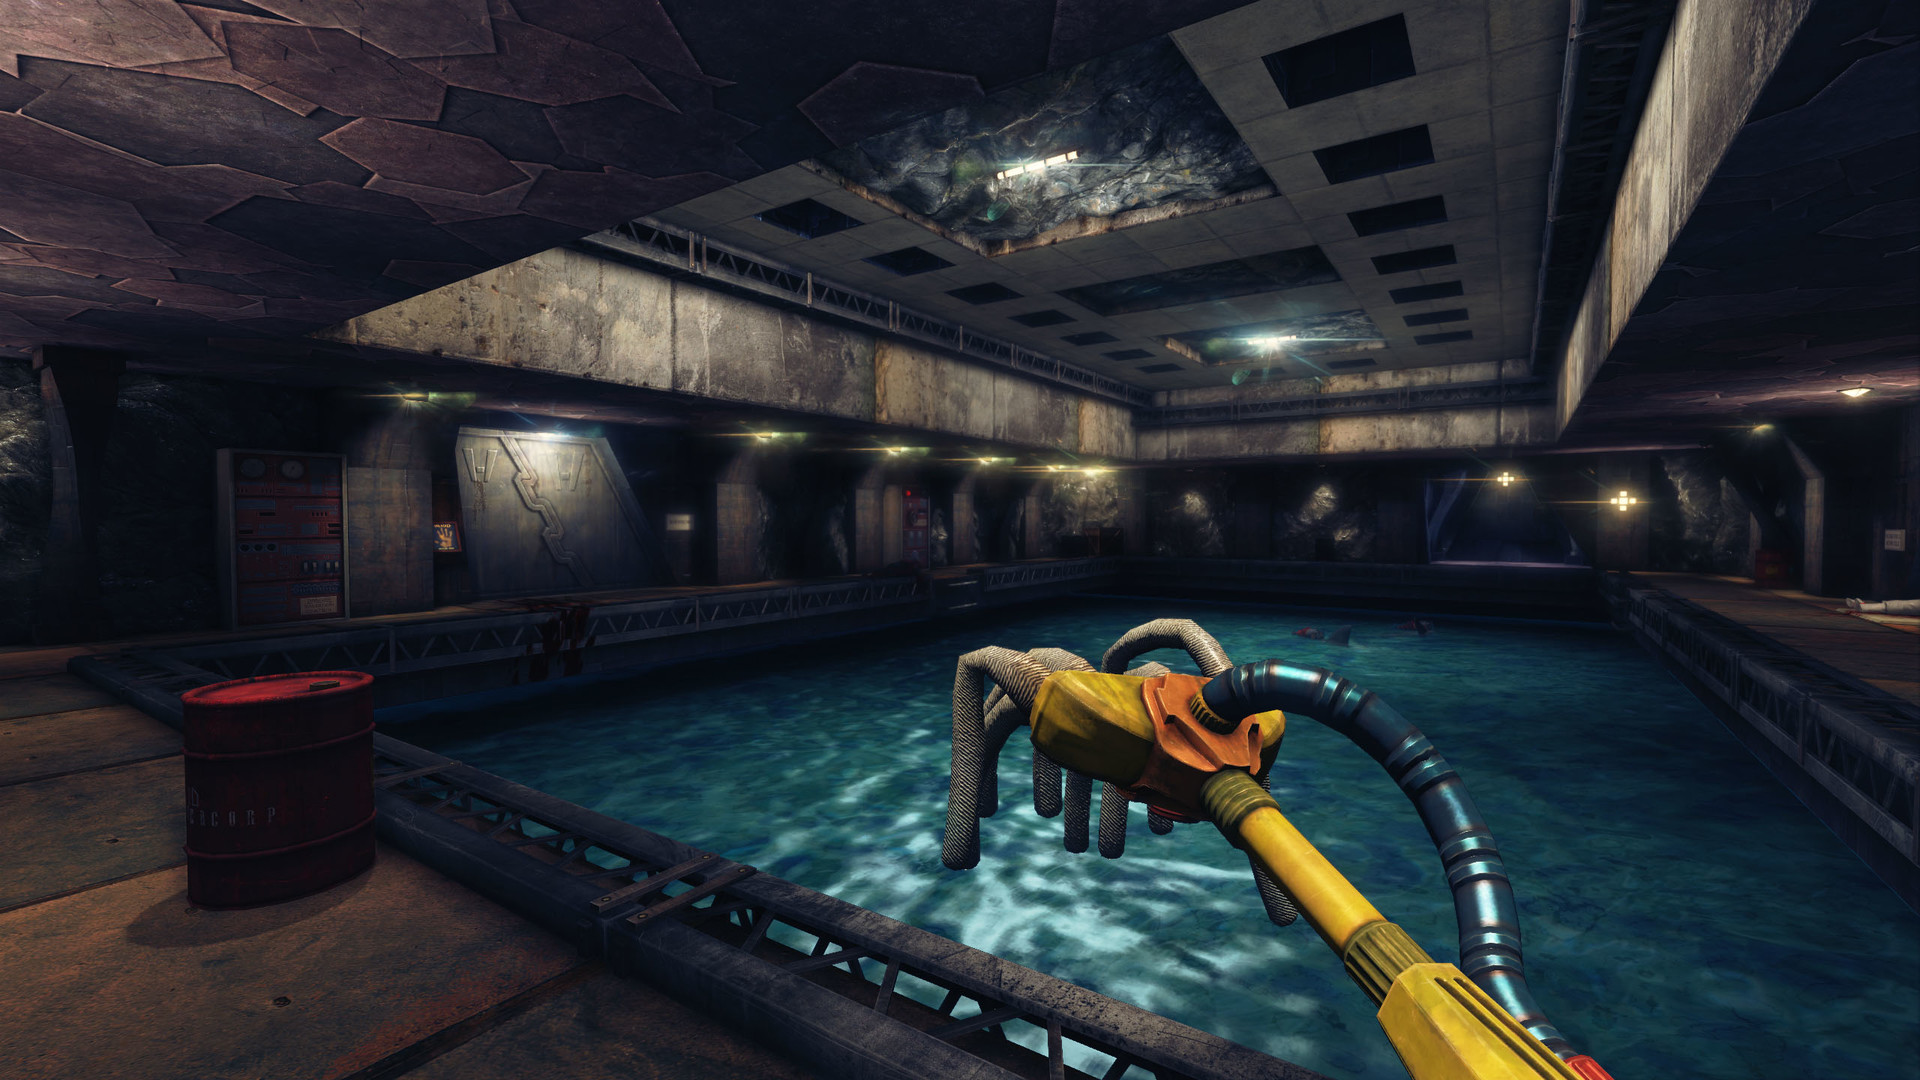
- Core Sample: An experimental energy and research facility featuring high-tech equipment and the largest gameplay additions of any of the three levels.
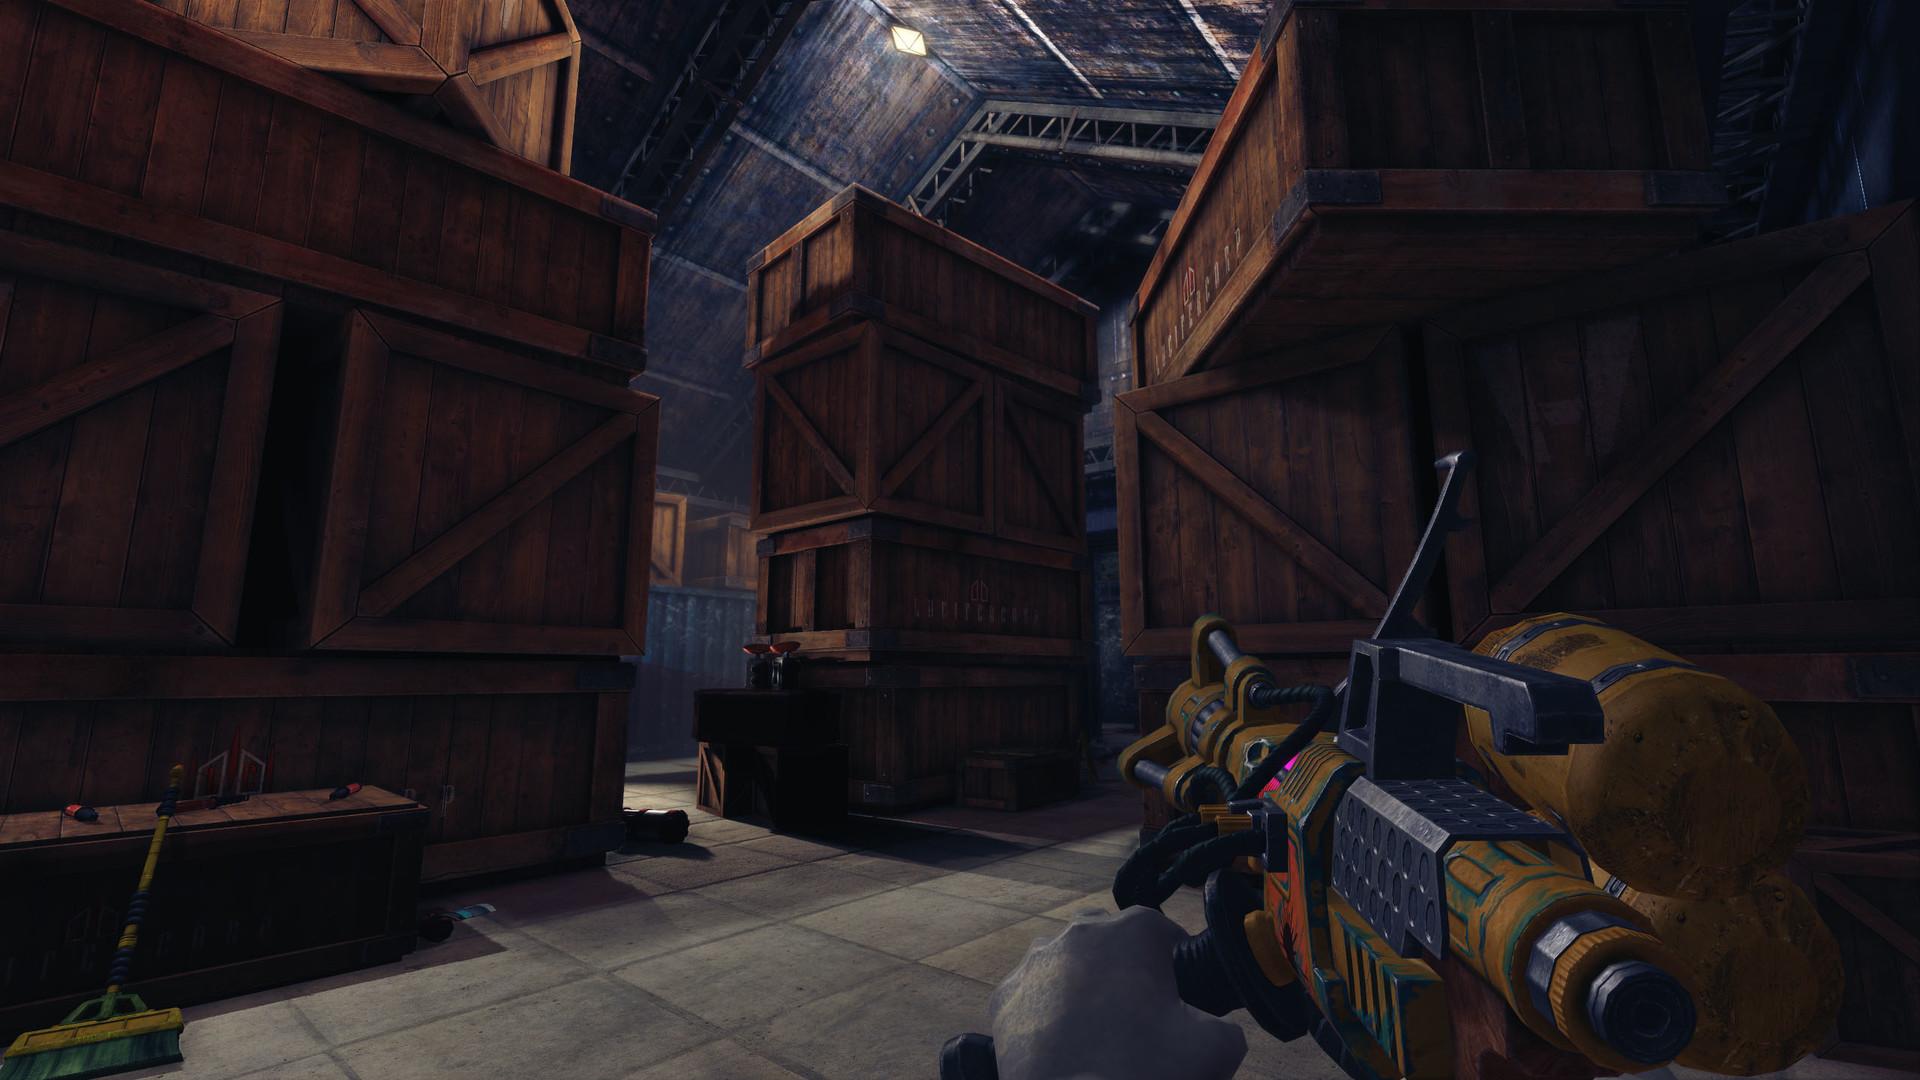
- Penumbra: An abandoned storage facility that went dark and had to be investigated.
- Pestilent Penitentiary: A backwater prison colony subjected to a rather unfortunate event.
Each one has its own achievement.
More Info
Head on over to the Steam Announcement page for more info(especially regarding Steam Workshop) and a tasty Changelog.
Also, if you want to buy the new Vulcan Affair DLC, simply head on over here, or directly to the Steam store page.
Whew, that’s about it.
Enjoy, everyone!
Viscera Cleanup Detail v1.0! And other news!
--------------------------------------------------------------
Hey hey!
Because I’m an idiot, this blog has gone un-updated for a little too long.. Feel free to whack me over the head with your virtual baseball bats!
At any rate, I come now with a summary of what has happened since the last post (a shit ton!). Big news first then:
Viscera Cleanup Detail has hit v1.0 and is now out of Early Access! Hooray!
Head on over here to get your hands on the finest space-station janitorial simulator around!
Over the last year, we managed to finish off all the content and features we intended (mostly), added new maps, fixed a ton of things, polished up others and generally cleaned up the place! Here is a launch trailer to gaze upon:
And the cherry atop the pile of disposal bins? We even managed to craft a Halloween themed DLC, “House of Horror”; a content rich map set in a haunted suburban home.
Check out here for more info on House of Horror!
And here is also a funky trailer for you to feast your dead eyes upon:
We’re still working on a few outstanding tasks, however. These include getting a Mac build going (which it mostly does, check here), merging the spinoff titles (Santa’s Rampage and Shadow Warrior) into the main game, and hopefully I can finish off a map or two for Christmas (free updates!). They will be regular Viscera-themed however, nothing too outrageous.
Otherwise, we’re going to start figuring out what to work on next. We have a few prototypes rattling around that we’ll flesh out in greater detail in the new year I expect. We’ll also be taking our usual bit of time off over mid-December to sometime in January, but we’ll still be around to check out what’s happening/deal with stuff.
And lastly, another enormous thanks to the players and fans of VCD. Ya’ll have been amazing ![]()
For now, keep on cleaning!
We’re taking a break!
--------------------------------------------------------------
Greetings everyone!
So, another year has passed by, rather rapidly at that. We managed to get VCD into Early Access, updated it regularly, got Rooks Keep out onto Steam, set up our business and company and were generally ultra-busy. We even managed a prototype or two when we weren’t working on VCD (usually in the evenings or weekends)!
All this is basically to say, “we’re going on break for a few weeks”! We’ll be keeping an eye on things to make sure nothing serious pops up, and fix it if it does.
With some time off, we’ll be able to do some renovating around our “office” and spend some time fleshing out a couple prototype ideas we have. Once we’ve completed VCD, one or two of those will become our next focus.
But of course, we can’t depart without saying thanks to our excellent fans and community! Thanks for the feedback, the kind words, the videos and pictures and, most of all, thank you for cleaning those disgusting space-stations, and contrary-wise, making all the nice Rooks Keep arenas less than clean!
We’ll return in a few weeks, hopefully refreshed and ready to finish up the rest of VCD!
We’ll seeya soon everyone; rock on!
Rooks Keep Released from early access!
--------------------------------------------------------------
Hail, mighty gladiators! ![]()
I bring good tidings, we’ve released Rooks Keep good and proper out of Steam Early Access and into the main fray of the Steam arena. Still only $14.99, so be sure to check it out if you like swords and decapitation, and lets face it, who doesn’t?
-Buy from here-
-Or Buy on Steam-
We’re currently working on getting Steam Workshop setup for it and for Viscera Cleanup Detail, so that should follow soon, or early next year.
Until then, keep hacking apart the traditional sacks of meat that wander about the arenas!
Remainder of 2014: summarized roadmap
--------------------------------------------------------------
Greetings everyone,
We just wanted to put up a brief summary of what we plan to accomplish during the remainder of the year. We will take some time off mid December and resume work early-to-mid January, as it’s been pretty hectic since we started work on VCD. I’ve been plagued by a neck/muscle problem, and as such I haven’t been able to get much of anything done. The J-HAMR would probably have been done by now if not for that. It’s recovering though, so I’ll get done as much as I can!
So, before the end of the year we are aiming to:
-
-Release Rooks Keep.
-Implement Steam Workshop for Rooks Keep and Viscera Cleanup Detail.
-Implement the J-HARM tool for VCD.
-Release normal VCD updates (fixes, tweaks, features, achievements, etc)
As you can see, the Workshop support for both Rooks Keep and VCD is high priority and should be complete in a few weeks. It’s a tricky undertaking, requiring a dedicated application that needs to handle the preparation, downloading and uploading of the mods.
Rooks Keep will probably be released from Early Access very soon, and Workshop support will be ported to it as we get it working for VCD. The two should get that quite close together.
So there we go! VCD updates will continue until we break for the year, and those priority implementations and releases should all happen before then as well!
Happy janitoring/slaying!
 | 1 Comment »
Viscera Cleanup Detail v0.37; Even more fixes
--------------------------------------------------------------
Greetings to all employees, even you, yes you, you know who you are.
We’ve been plagued by a series of obstacles, so updates are not as fast or as packed as we’d have liked, but we’re doing our best to keep em coming ![]()
This week is all about fixes and some new sounds (over 100).
And, importantly, VCD will finally hit it’s promised price increase this coming week, probably before mid-week. So this is your last chance to grab it at the $7.99 price. Also, we will be retiring the discount on VCD you get for owning Santa’s Rampage. For a variety of reasons, this can no longer stay in effect :\ Santa’s Rampage and the Shadow Warrior spin-off will still be free to everyone who buys VCD, however!
VCD will be increasing to $10.
So, please keep that in mind. We will do our best to remind everyone regularly over the next few days as we head there. Now then, onward to the changes for v0.37!
Changelog:
-Added another Crate stacking area to Hydroponic Hell
-Fixed Toxic barrel stacking for Unearthly Excavation, Hydroponic Hell, Caduceus and Athena’s Wrath
-Fixed Cryogenesis Cryo Capsule stacking areas not working, also made it more obvious that you need to stack them there.
-Replaced the Evil Science saw sound with something better.
-Added a whole bunch of new object interaction sounds!
-Fixed stacking areas not working!
-Improve punchout note text to fit better with janitor hands.
-Improved FP mop blood drip effects slightly.
-Fixed buckets never appearing empty on clients.
-Gave flares some smoke.
-Fixed clients not having object pickup sounds.
-Fixed new achievements not working.
-Fixed 3p mop blood not being synced on the network.
-Made notes snap into player hands, in third person.
-Fixed host not being awarded achievements when punching out of a level.
-Changed it to so the Ubermensch achievement cannot be crooked by setting the speedrun par-time allowance higher.
-Sorted map list from smallest to largest.
Thanks everyone, and keep those floors clean. The company won’t have a repeat of last time, you know what I’m talking about!
VCD v0.35 to v1.0: tentative roadmap
--------------------------------------------------------------
Greetings everyone!
So here is our tentative roadmap for VCD from v0.35 (coming Friday probably) to v1.0 (hopefully in January). This is very much subject to change!
Game
-General fixes [too many to list specifically]
-General tweaks [adjustments that will make themselves apparent as we go]
-Office tweaks and improvements that might be required
Maps
-Robotics facility [fancy new map and environment with new things to deal with]
-Paintenance [smaller map, theme shall remain secret for now!]
-Zero-G – MAY NOT HAPPEN! [this will be a design and environment reworking of the Zero Gravity map]
Features
-J-HARM lift tool [for those hard to reach places!]
-Broom tool [it'll make it easier to sweep objects together]
-Artifact [muhaha!]
-Lightning scars [fix with Plasma tool]
-Radio [this depends very much on my ability to craft enough funky janitorial tunes!]
-Foetus’ for tanks [decorative]
Content
-*CLASSIFIED L9*
-General audio pass:
This will be an overall pass of VCD audio, where we’ll add new sounds where lacking, or repeat too often across multiple objects (eg: all the crates). Expect a few dozen new ones.
-Hand animations [add more animations for the hands as needed, such as opening and closing, switching things on and off, palm scanner, etc]
Other
-Trading cards
-Achievements
-Mod support / Steam Workshop
-Mac support [this is not a guarantee! we are not yet certain if it's possible, but we will try our best!]
-Launch/Release video
This is how this roadmap should go down over updates. This is by no means complete or definite however, rather a general guide. We will aim to get things in in that order, and as quick as we can.
Fixes and tweaks aren’t listed here, as they will be spread widely across the whole lot as we go ![]()
==========================
v0.35 [potential]
==========================
Trading cards
New map [Paintenance]
Hand animations
First few Achievements
==========================
v0.36 [potential]
==========================
Audio pass
J-HARM
More Achievements
==========================
v0.37 [potential]
==========================
Artifact
Lightning scars
Broom
More Achievements
==========================
v0.40 [potential]
==========================
Robot Facility
Radio
More Achievements
==========================
v1.00 [potential]
==========================
Achievements
Mac build
Workshop
Launch video
—————————————————-
And there we have it for now! We’ll keep on doing as much as we can and get through the updates as quickly as possible for ya’ll ![]() The only long gap might be when we take a couple weeks off over Christmas, but we aim to have most of it all done by that point.
The only long gap might be when we take a couple weeks off over Christmas, but we aim to have most of it all done by that point.
Thanks!
Viscera Cleanup Detail v0.34; Fixes Ahoy!
--------------------------------------------------------------
Attention All Custodians, -staff eyes only-
A new update has been unleashed!
It has sadly been a while since the last one, as we attempted to get the Mac build working and focused a bit more time on Rooks Keep (due out very soon!). As the Mac build didn’t behave, we’ll keep going with normal updates, and hopefully slot a working Mac build in somewhere.
Also, there are some mysteriously goblin forces at work with the pricing increase to $10, so that will be delayed for a bit longer.. (YAY right??)
At any rate, v0.34 is now as live as a spirited face-hugger, so here are the changes. Most worthy of mention are the better note/PDA holding mechanics, new anims for hands and the janitor(3rd person), as well as a disposal bin load of fixes!
Behold ye olde changelog:
Maps:
-Fixed Greenhouse lift not saving any data.
-Improved disposal hatch in Janitor Office.
-Improved Janitor Office door collision, you can now fit bins through them.
-Improved visibility of ‘pus-pod’ splats in the Greenhouse.
-The keypad pass-codes in the Janitor Office are now randomized on your first visit.
-Fixed seed-beds in Greenhouse from accepting seeds in buckets and bins.
-Added new a note to the Office and Greenhouse level.
-Changed punchout reports when playing Cryogenesis.
Game:
-Prevented machines spitting out gibs in speedrun mode.
-Changed office level to now save automatically when you exit or quit.
-Fixed empty buckets having sand in them after loading a saved game.
-Added a visual cue to interactive keypads to aid in hacking.
-Changed Bob’s notes.
-Added new third-person janitor movement animations.
-Added new first-person hand animations.
-Added Spam to the Supply Machine…uh oh!
-Gave Flares the ability to burn small weak items such as papers and soda cans.
-Fixed Sand Piles in digsite not being saved.
-Made Goo-Jars spread an infection to dead things!
-Fixed Mutant viscera using the wrong stump blood colour.
-Added new note handling + anims, the hands now actually hold them just right!
-Fixed draw depth of notes in multiplayer, they are no longer drawn over the player who’s holding them.
UI:
-Added some basic map info to the Main Menu.
-Fixed changing resolution and then turning off windowed mode causing the wrong resolution to be used.
-Finally fixed Gamma setting not working!
System:
-Gave all Viscera Cleanup Detail classes their own class-group in the editor, should be easier to find now.
Well, there we go! Also of note, is this thread where we will talk about our daily development tasks for VCD. Also, this thread will help out with level creation for VCD.
Thanks ya’ll and pleasant janitoring!
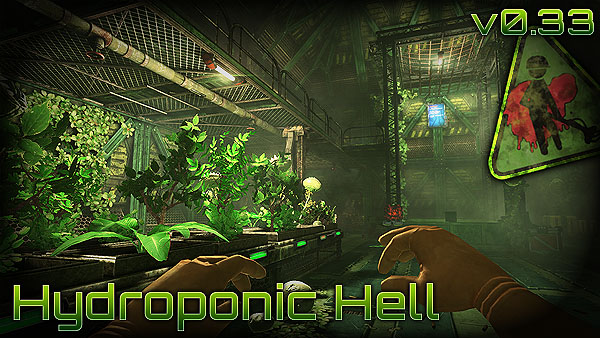
Viscera Cleanup Detail v0.33; Hydroponic Hell
--------------------------------------------------------------
Hi there, maligned custodians. News has reached the station of a new job opportunity, Viscera Cleanup Detail meets Station Greenhouse Simulator 2184(if there were such a thing). No, I refer to this beautiful new creation, Hydroponic hell, the new Greenhouse map. It comes with many other nice things, read on!
With this comes several new in-map features, major changes to the office, flares, explosives, and a whole bunch of other features and improvements.
But, we also bring; Editor support! Oh yes! If you know UDK, or are willing to learn, you can now create your own maps! We’ll be adding Workshop support as soon as we can as well. But for now, you’ll have to find alternate means of hosting your maps :\ Also, more info on exactly how to package and prepare your maps for public release will follow ![]()
TO BE CLEAR! IMPORTANT: Janitor Office no longer saves automatically, either save it manually or enable Auto-Saving. Old save data may also be horribly corrupted!
And now some words!
—–
With this update, we’ll be taking a bit of a breather, during which time, we’ll try and get the Mac build working, finish up Rooks Keep and take a few days off. There will be no more major updates until those two things are done ![]() Trading cards and Workshop support may make an appearance during this time, otherwise it’ll come in a later update.
Trading cards and Workshop support may make an appearance during this time, otherwise it’ll come in a later update.
Also, before the next big update, we will be increasing the price ($10). Before that happens, we’re going to try and make sure that the Mac build either works, or makes it known that it won’t behave well enough to make it :\
Ok, that’s sorted, now take a gander at ye olde change log…careful, it bites! Though I’m not too sure on that.
-New ‘Hydroponic Hell’ map and mechanics.
-Editor support!
-Added several notes and announcement screens to Athena’s Wrath.
-Fixed Athena plants preventing you from picking up stuff stuck in them.
-Improved Zero-G speedrun par time, you now have %35 more time to clean it.
-Made some fairly major changes to the Janitor Office…muhahaha
-Added flares and explosives to Unearthly Excavation.
-Fixed the malcontent lockers in the Janitor Office.
-Added Flares to Waste Disposal
-Prevented use of Cheats such as ‘fly’ and ‘killnearestmess’ while in Speedrun mode.
-Made the bucket reflect the color of filthy objects dropped into it, and not just always red.
-Added flares to the supply machines.
-Fixed players in MP not having the right colors when going to the office.
-Fixed bloody footsteps not saving their color.
-Added a ‘Team Size’ display to the Speedrun Punchout machine.
-Made ‘Par time’ display adjust according to extra players.
-Fixed “Restore >>” button on the Main Menu next to ‘Speedrun’ appearing when there is no save data.
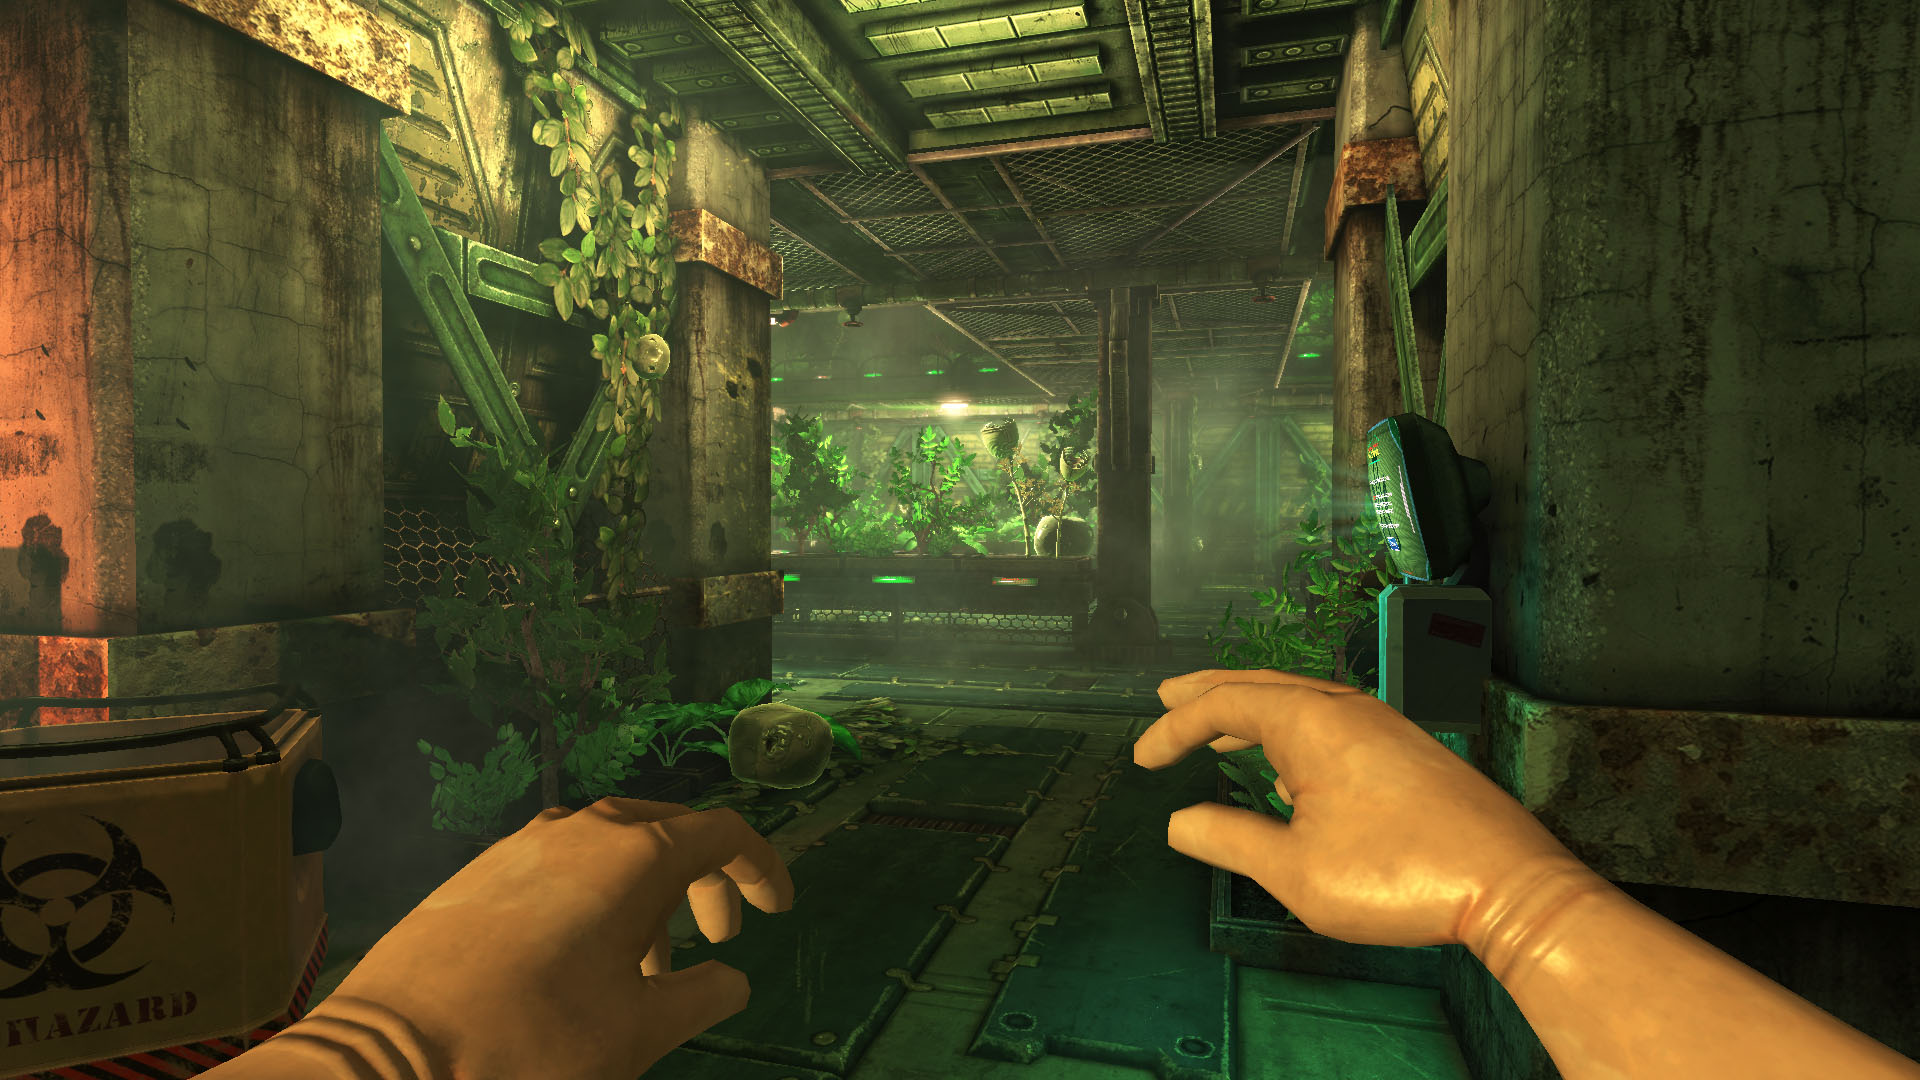
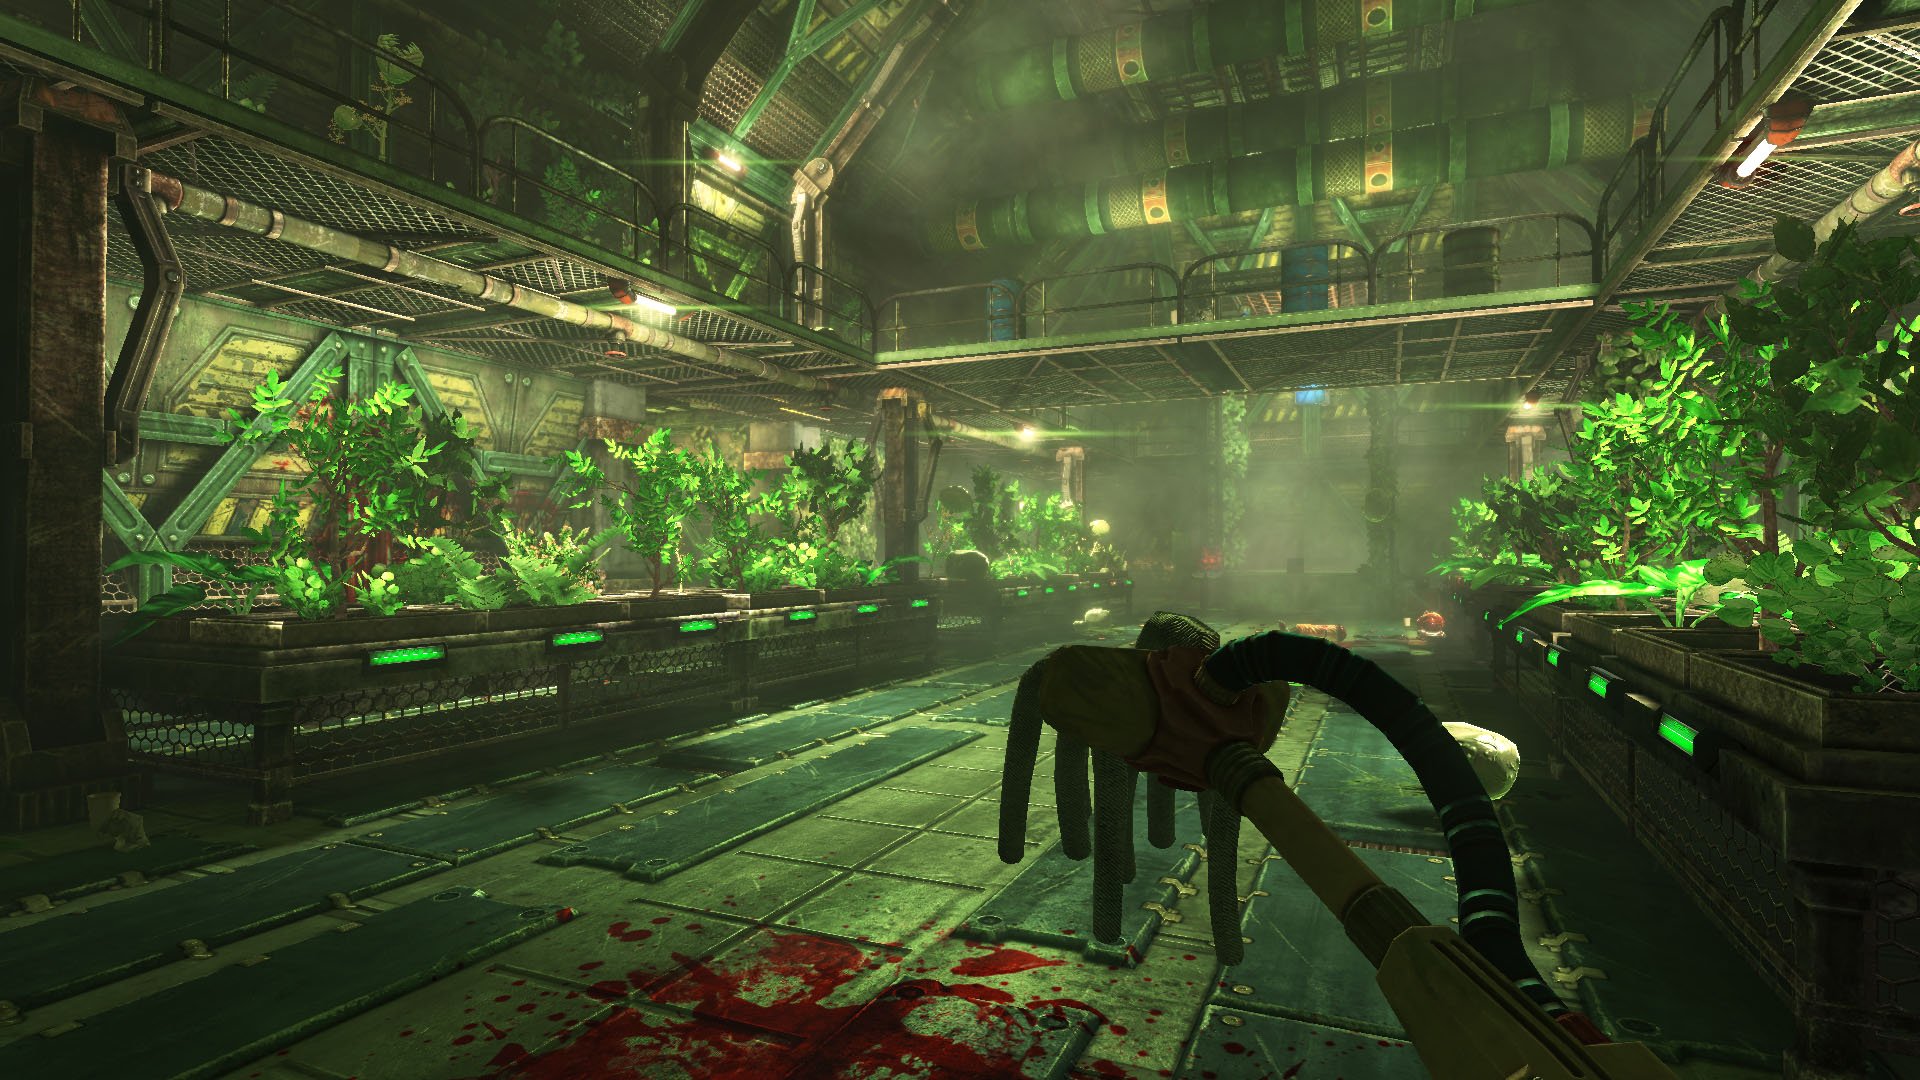
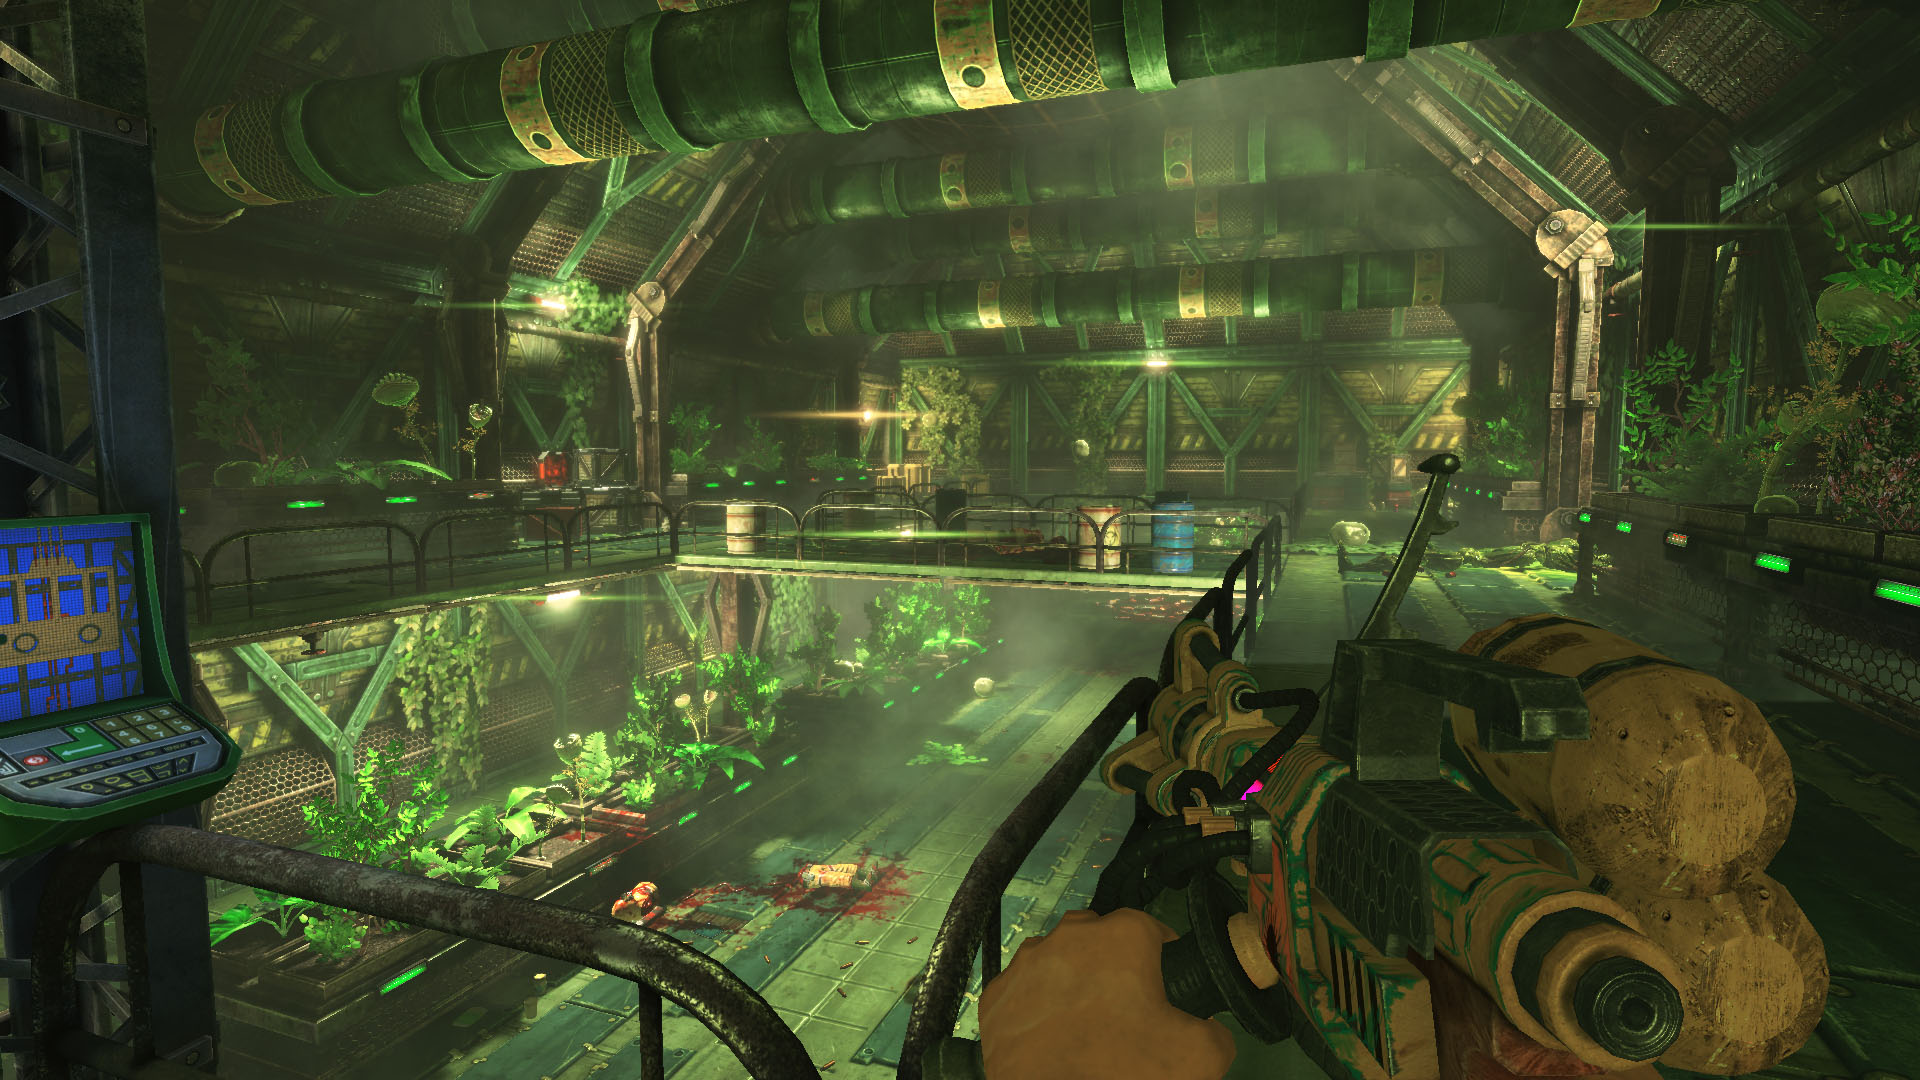
Here, have some screenshots, the first one is free…but you’ll have to sign a contract indenturing yourself to the cause of janitoring to view the rest!:
And that’s it, I hope you all enjoy getting your overalls covered in blood, I know you like that sort of thing.
Viscera Cleanup: progress report
--------------------------------------------------------------
Hi everyone!
First off, apologies about the recent slow-down in regular updates to VCD. That is mostly down to a seemingly endless stream of admin and biz work relating to us setting ourselves up as a company, accounting and so forth. This is all new to us, so we’re stumbling around figuring it all out, and it’s taken a large whack of time away from proper game development. Hoping we’re near the end of that now. The other thing that took time away was the launch of Rooks Keep. We wanted to get that out to fans as soon as we could, otherwise it might only have hit after we finished VCD. Anyway, to the matter at hand!
| 21 Comments »
- Animations (1)
- Blog (4)
- Rooks Keep (23)
- RuneStorm News (13)
- Trash from the Past (3)
- UDK (1)
- Uncategorized (2)
- User Interface (3)
- Viscera (25)
- December 2018
- November 2015
- January 2015
- December 2014
- November 2014
- October 2014
- September 2014
- July 2014
- April 2014
- February 2014
- January 2014
- December 2013
- November 2013
- October 2013
- September 2013
- August 2013
- July 2013
- June 2013
- May 2013
- October 2012
- August 2012
- June 2012
- February 2012
- December 2011
- October 2011
- September 2011
- August 2011
- July 2011
- June 2011
RSS feed:  |